Contents
- 1 How to Create a DigiLocker Account and Upload Documents – Step-by-Step Guide
- 1.1 🧾 Introduction: This Guide Will Help You Go Paperless with DigiLocker
- 1.2 📦 What is DigiLocker?
- 1.3 ✅ Benefits of Using DigiLocker
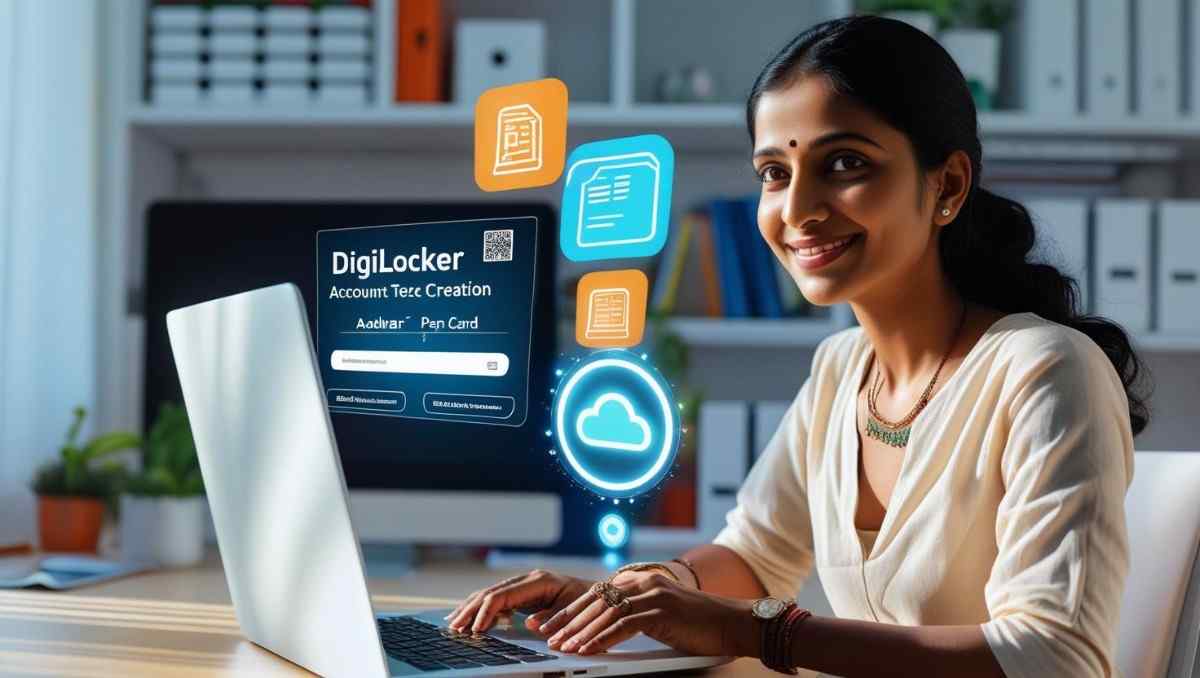
- 1.4 🛠️ Step-by-Step: How to Create a DigiLocker Account
- 1.5 🧾 How to Access and Download Government-Issued Documents
- 1.6 📤 How to Upload Your Own Documents in DigiLocker
- 1.7 🧑💼 How CSC Centers Help Citizens with DigiLocker
- 1.8 🔄 Forgot Your Password? Here’s How to Recover DigiLocker Login
- 1.9 🧩 Use Cases of DigiLocker for Citizens
- 1.10 🧠 Tips for Using DigiLocker Safely
- 1.11 🔐 Explore Related Online Services:
- 1.12 ❓ FAQs
- 1.13 🧭 Conclusion
🧾 Introduction: This Guide Will Help You Go Paperless with DigiLocker
Tired of carrying paper copies of your Aadhaar, PAN, or driving license everywhere? DigiLocker makes life easier by giving you secure, government-verified digital access to your important documents, all in one place.
This article will help you create a DigiLocker account, verify your identity with Aadhaar, and upload your own documents safely. Whether you’re a student needing certificates, a job-seeker submitting KYC, or a citizen using CSC services — this guide will walk you through every step, clearly and simply.
We’ll also show how Common Service Centers (CSCs) can help if you don’t have internet access or face issues while setting it up.
Let’s go paperless — securely, quickly, and officially. This article will help you create and manage your DigiLocker account to store all your important government-issued documents.
Perfect! Here is your full article:
How to Create a DigiLocker Account and Upload Documents – Step-by-Step Guide
(Approx. 1800 words – Human tone, CSC support, internal HTML links & metadata at the end)
🧾 Introduction: This Guide Will Help You Go Paperless with DigiLocker
Tired of carrying paper copies of your Aadhaar, PAN, or driving license everywhere? DigiLocker makes life easier by giving you secure, government-verified digital access to your important documents, all in one place.
This article will help you create a DigiLocker account, verify your identity with Aadhaar, and upload your own documents safely. Whether you’re a student needing certificates, a job-seeker submitting KYC, or a citizen using CSC services — this guide will walk you through every step, clearly and simply.
We’ll also show how Common Service Centers (CSCs) can help if you don’t have internet access or face issues while setting it up.
Let’s go paperless — securely, quickly, and officially.
📦 What is DigiLocker?
DigiLocker is a flagship initiative under the Government of India’s Digital India program. It allows citizens to:
-
Access, store, and share digital documents issued by government authorities
-
Upload personal documents like marksheets, health records, insurance, etc.
-
Eliminate the need for physical paperwork during verification
It’s operated by MeitY (Ministry of Electronics & IT) and is widely accepted by educational institutions, banks, passport offices, and more.
✅ Benefits of Using DigiLocker
Your DigiLocker account is protected by Aadhaar-based OTP and is legally valid across India.
| Benefit | Details |
|---|---|
| Free & Secure | Official platform managed by the Indian government |
| Easy Aadhaar Integration | Sign up instantly using Aadhaar OTP |
| Cloud Storage | Store up to 1GB of personal documents |
| E-Signed Files | Auto-signed documents are legally valid |
| Accepted Everywhere | Used by schools, RTO, CSCs, banks, embassies, and more |
🛠️ Step-by-Step: How to Create a DigiLocker Account
Step 1: Visit the Official Website or Download App
-
App: Available on Google Play Store & Apple App Store
💡 Tip: Make sure your mobile is linked to Aadhaar for OTP verification
Step 2: Click “Sign Up”
You’ll be asked for:
-
Full Name (as per Aadhaar)
-
Date of Birth
-
Gender
-
Mobile Number
-
Aadhaar Number
Step 3: Verify with OTP
An OTP is sent to your Aadhaar-linked mobile number. Enter it to proceed.
Step 4: Set Username & Password
Choose a secure password and username you’ll remember.
🎉 You’ve created your DigiLocker account!
🧾 How to Access and Download Government-Issued Documents
Once logged in, you can pull official e-documents such as:
-
Aadhaar card
-
PAN card
-
Driving license
-
Vehicle RC
-
CBSE/ICSE marksheets
-
Insurance policy certificates
-
Covid vaccination certificate
📥 Steps to Pull Issued Documents:
-
Go to the “Issued Documents” section
-
Select the issuer (e.g., UIDAI, CBSE, RTO)
-
Enter required details like Aadhaar or roll number
-
Click “Get Document” – it will appear under your DigiLocker dashboard
All these documents are digitally signed and legally valid.
📤 How to Upload Your Own Documents in DigiLocker
You can upload PDF files directly to your DigiLocker account and categorize them for future use.
-
Birth certificates
-
Property documents
-
Passport, Voter ID
-
Academic certificates
-
Job letters, resume, etc.
Upload Steps:
-
Click on “Uploaded Documents”
-
Click “Upload” and browse files (PDF, JPG, PNG)
-
Add a document name and select category
-
Save it for instant access anytime
🔐 All files are securely stored with end-to-end encryption.
🧑💼 How CSC Centers Help Citizens with DigiLocker
If you don’t have smartphone or internet access, your nearest Common Service Center (CSC) can: If you face any issues, visit your nearest CSC to set up or fix your DigiLocker account.
-
Help you sign up on DigiLocker
-
Link your Aadhaar correctly
-
Retrieve lost username/password
-
Pull issued documents like PAN, RC, mark sheets
-
Upload and organize your personal documents
-
Print digitally signed documents if needed
Most rural users and senior citizens find CSCs extremely helpful in managing their digital accounts.
🏷️ Fees at CSC: Usually ₹20–₹50 depending on services
🔄 Forgot Your Password? Here’s How to Recover DigiLocker Login
If you’ve forgotten your password:
-
Click on “Forgot Password”
-
Enter your mobile or Aadhaar number
-
You’ll receive OTP to reset the password
You can also use your Aadhaar for quick login if biometric or face authentication is enabled.
🧩 Use Cases of DigiLocker for Citizens
| Use Case | Benefit |
|---|---|
| Students | Upload certificates, marksheets, CBSE docs |
| Job Seekers | Share KYC or IDs during interviews |
| Vehicle Owners | Keep RC and DL digitally |
| Bank Customers | Submit digital KYC |
| Travelers | Access IDs for passport and visa |
| Farmers | Store land ownership and insurance docs |
| Senior Citizens | Easily retrieve health records or pension ID |
🧠 Tips for Using DigiLocker Safely
-
Set a strong password and update it regularly
-
Avoid logging in from public devices
-
Always log out after use
-
Don’t upload sensitive financial documents unless needed
-
Enable two-factor authentication via app settings
🔐 Explore Related Online Services:
- Online Services in India – Complete Guides
- How to Download e-Aadhaar PDF from UIDAI
- Link Aadhaar with Mobile Number
- How to Link Aadhaar with Bank Account
❓ FAQs
Q1: Is DigiLocker safe to use?
Yes. It’s backed by the Government of India with encryption and Aadhaar authentication.
Q2: Can I use DigiLocker without Aadhaar?
No, Aadhaar is mandatory for signup and pulling issued documents.
Q3: Can CSCs help me create an account?
Yes, CSC centers can help with registration, retrieval, and document uploads.
Q4: What happens if I lose my mobile number?
You can update your mobile number through the DigiLocker profile section or visit CSC for assistance.
🧭 Conclusion
DigiLocker is a powerful tool that helps Indian citizens go paperless, access government documents on the go, and securely upload personal files. With Aadhaar-linked verification and CSC support, it ensures digital services are accessible even in rural areas. Your DigiLocker account gives you secure, anytime-anywhere access to your personal documents.
Whether you’re preparing for exams, applying for a job, or just organizing your paperwork — DigiLocker is a smart step toward a digitally empowered life.